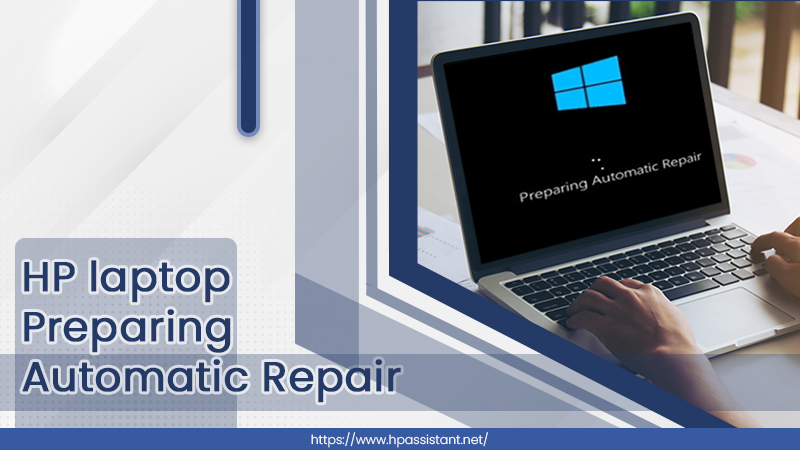
HP laptops are renowned for their high performance. But sometimes, they present peculiar problems to users. One of the problems widely reported by people is their HP laptop preparing automatic repair and getting stuck in it. It gets stuck in endless automatic repair loops.
It may come up with repairing disc errors but then enters the repair loop again. The black screen keeps loading with the Windows 10 logo and a message that reads ‘Preparing Automatic Repair.’ In such a situation, people desire to find a resolution that works and gets their laptop out of the black screen repair loop. In this article, you’ll find some effective solutions to this scenario.

Fixes to Use When You Find HP Laptop Stuck on Preparing Automatic Repair
There are quite a few things you can do, like conducting a hardware checkup on your laptop, performing system restore, and employing the Safe Mode. Keep reading to know what to do when you find HP preparing automatic repair stuck.
Conduct hardware checkup on the HP laptop
In case you have recently bought an HP laptop or Windows or have been using them for quite some time, it’s important to conduct a hardware checkup on it. It will scan every output and input device attached to your system. Although it can take some time for it to perform the hardware checkup, you’ll get immediately informed of any issues if they are found. Follow these steps for conducting the hardware checkup.
- Hold the Power button on your HP computer for about 10 seconds to forcefully shut it down.
- Hit the Power button to switch on the laptop. At this time, you need to keep pressing the Esc key.
- You will see ‘HP Startup Menu options’ Press the F2 key on your keyboard to open the HP Hardware System Diagnostics tool.
- Choose the English language and run the PC Hardware Diagnostics UEFI tool in hp.
- Next, run the ‘Component Tests‘ and ‘System Tests‘ from the given list of options.
- Firstly, tap on the ‘System Tests.’ You need to run ‘Fast Tests‘ for conducting a quick checkup of all your hardware. Then, according to the no error output, you must run the ‘Extensive Tests’ and ‘Quick Tests‘ for confirming.
- After you are finished with every system test, navigate back to the ‘Main Menu‘ and conduct separate ‘Component Tests.’
You will know about your laptop components by the HP Diagnostic Tool. You also have the choice to claim the warranty by connecting with HP support. In case of any failure, you’ll see the failure ID on the screen. Paste it on a notepad file. Next, head over to the HP Support website and choose your product type. Input the relevant information, like the model, serial number, and failure ID of your HP laptop. It will produce your ticket, and the HP support team will soon look into your problem.
Execute a System Restore
System Restore is a built-in Windows 10 functionality present in HP laptops and computers. Your system automatically creates a restore point, which consists system files, install apps data, and settings. System Restore modifies the PC configuration to the past when you did not encounter any HP automatic repair failed problem. You can undo the restore if you face more problems, but you cannot terminate it after starting the process. Ensure that you haven’t chosen HP
System Recovery, as it will delete all files and reinstall Windows 10 with built-in apps and drivers.
To perform the System Restore on your HP laptop, follow these points.
- Press the Power button and keep tapping the F11 key.
- Select your keyboard layout and the option of ‘Troubleshoot‘ to reset your HP PC.
- Go to the ‘Advanced options‘ followed by ‘System Restore.’
- Select your Operating System in the instance of multi-boot. After that, confirm the ‘System Restore’
Also Read :- HP JumpStart
Conduct a startup repair
Conducting a startup repair when you find your HP laptop preparing automatic repair stuck is also an effective option to try. The steps for performing the startup repair are as follows.
- Put the Windows bootable drive to your HP laptop and bot from it.
- Choose your language preferences and tap ‘Next.’
- Tap ‘Repair your computer.’
- Choose ‘Troubleshoot‘ and from there, select ‘Advanced Options.’
- Lastly, tap on ‘Startup Repair.’
Boot in the Safe Mode
In case your HP system shows performance-related problems, you can use the System File Checker tool to scan, identify, and replace the missing system files through the Windows 10 recovery image. Here are the steps that you must adhere to.
- Navigate to ‘Troubleshoot‘ followed by ‘Advanced Options’ and ‘Startup Settings.’
- Tap the button of ‘Restart.’
- After that, select ‘Enable Safe Mode with Networking‘ from the list of options.
- If you suspect a driver problem related to any of your software, download the latest driver from the manufacturer’s website.
- Hold the Windows button and ‘X’ and choose ‘Command Prompt.’
- Input the given command in the ‘Command Prompt.’
- DISM/Online /Cleanup-Image /RestoreHealth
- Let the process complete. After that, restart the PC and install the updated driver.
Try various startup settings
The advanced startup settings in Windows 10 have various options. Given below are different startup options you can try when you find an HP laptop preparing automatic repair black screen problem.
a) Enable boot logging
This option records every driver operating in the ‘ntbtlog.txt log file.’ This file is stored in the Installed Windows drive. The location of the log file is usually ‘C:\Windows\ntbtlog.txt.’ You need to enable this option to see whether your PC drivers aren’t in conflict with your system. You can read the logs if your Windows begin in the Safe Mode or normally.
b) Disable driver signature enforcement
Windows 10 isn’t able to verify the drivers and will run as usual. Many users of HP laptops have booted back to Windows 10 after they ditch the automatic repair screen. It’s a good practice to set aside the driver interferences to allow Windows 10 to boot without any errors.
c) Disable early launch anti-malware
If you report the issue of HP preparing automatic repair then black screen, you can try disabling early launch anti-malware. These are the first line of defense against harmful boot-start drivers. However, they can falsely any important boot-start file as malicious. This may result in problems during the boot. Disable it as follows:
- Choose ‘Troubleshoot‘ in the ‘Boot‘ menu.
- Then choose ‘Advanced Options’ followed by ‘Startup Settings.’
- Select ‘Disable early launch anti-malware protection.’
- Restart your PC.
Disable automatic repair at Windows 10 boot
Windows 10 performs automatic repair during the startup to resolve problems related to booting automatically. Although it’s a useful feature, it may not be able to solve startup problems at times. It can also lead to startup issues itself. So disabling the automatic repair can be an effective resolution to issues associated with Windows 10 booting up. Follow the steps below to disable automatic repair.
- Put the Windows bootable drive into your system and boot from it.
- Choose your language preferences and hit ‘Next.’
- Tap ‘Repair your computer.’
- Tap’ Troubleshoot‘ followed by ‘Advanced Options.’
- Tap’ Command Prompt.’
- In the Command Prompt window, input ‘bcdedit /set {current} recoveryenabled No.’
- Hit Enter.
- Lastly, input exit and press Enter.
Reset your PC
Resetting your PC is the last resort when you find HP preparing automatic repair then black screen not going away no matter what you do. Note that when you do so, you will lose the installed applications. However, the Universal apps will not get removed if you select the ‘Refresh Options.’ The ‘Reset‘ option will remove the installed files, apps, and settings. So back up the critical files before you reset your PC. After selecting the suitable options, adhere to the instructions to finish it.
Final Words
When you find an HP laptop preparing automatic repair stuck in the loop, you can implement the various methods given in this article. But don’t worry if you still cannot get rid of the annoying problem. The technical experts will fix this issue speedily so you can start working with your device again. You can seek the assistance of HP customer support services.