Got stuck with a black screen! It’s not good news. But, don’t worry, you can fix it. Follow this simplified guide on how to resolve the issue while preparing automatic repair.
Digital devices have made our lives easy. You can connect with anyone, do anything and learn whatever you want just with a click. However, these machines are always prone to some glitches. It can be a technical glitch or a physical glitch.
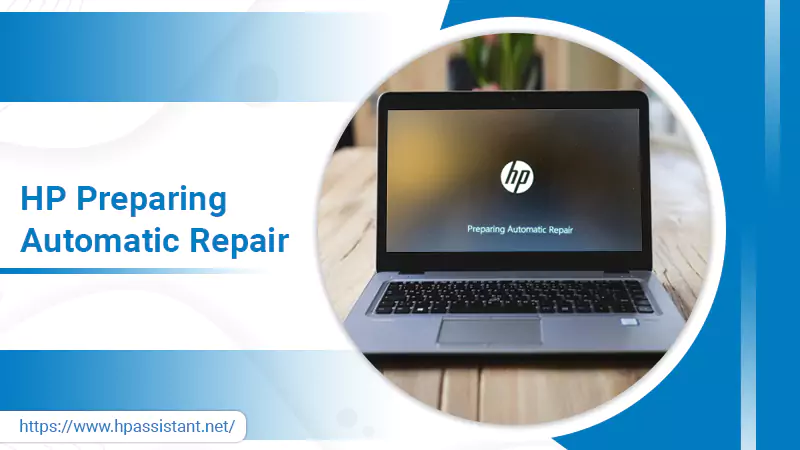
Thus, a computer like HP also comes across some problems. One of those popular glitches is HP Preparing Automatic Repair which gets stuck.
Let’s learn to troubleshoot and fix it!

Also Read:- HP JumpStart
Identify HP Laptop Preparing Automatic Repair Loop
There are two scenarios you may face when automatic repair fails. First, your laptop displays:
- A black screen with a message “preparing automatic repair.”
- Another message is “Diagnosing your PC” with a black screen.
Next, a message “Your PC did not start correctly” or “Automatic repair couldn’t repair your PC” appears with a blue screen.
Major Causes of HP Preparing Automatic Repair:
- A corrupted system file(s)
- An issue with the windows registry
- Missing windows updates or outdated windows
- An issue with the windows boot manager file
- Incompatible hard drives
Methods to fix hp preparing automatic repair issue
Once you get a message preparing automatic repair hp laptop screen, you have two choices. One to connect with the hp professional who can help you fix the issue. Second, try to fix the issue yourself.
For the latter, we have provided the best methods to fix the issue. Since some methods are technical and can damage your system, we will recommend you to follow only when you have previous technical knowledge. Otherwise, you can connect with technical support.
Boot In Safe Mode – Fix Preparing Automatic Repair Black Screen Issue
If the issue is not grave then fixing the issue of preparing an automatic repair black screen will be easy. All you need to do is to run the computer in safe mode. The reason for accessing it is that it provides a more optimized windows environment for troubleshooting.
Step 1: Launch the Windows Recovery Environment (WinRE) following the instructions below:
- Turn off and on your device.
- As soon as the windows start, again press the power button for 10 seconds to turn it off. Then again press it on.
- Repeat the above steps again and doing so will take you directly to WinRE.
Step 2: Now, from the Advanced startup screen:
- go to
- Then, select Advanced options.
Step 3: After that, select the Startup Settings option.
Step 4: A list of different tasks will appear. Select the Restart button to continue.
Step 5: Again a list of operations will appear. To select the Safe mode, press the key that denotes “Enable Safe Mode”, (for example 4).
Step 6: Finally, you will get the main list from where you can choose to restart in safe mode.
And you are done! The system will be restarted in safe mode.
Reinstall the Graphics Driver
Apart from other reasons one can be attached to the graphics driver installed on your device. It can be outdated or corrupted. In any case, “preparing automatic repair black screen” a black window with this message will appear.
Thus, to fix the hp laptop preparing automatic repair issue, you may try following the steps below:
Step 1: Follow previous methods to boot the computer in safe mode.
Step 2: Head to the start menu and search for Device Manager.
Step 3: Next, expand the options for Display Driver from the list of installed drivers.
- Then, right-click on the installed driver.
- Select uninstall
Step 4: After the driver is uninstalled, go to the website of your system or processor.
Step 5: From the website, download and install the display driver setup file.
Step 6: Or, you can go to the Device manager and upgrade the installed graphics driver.
Disable Automatic Repair in Windows
Although automatic repair is a useful feature for many users, sometimes hp preparing automatic repair is stuck and causes trouble.
Step 1: First, insert the Windows installation disc on your computer cd drive.
Step 2: Then, select the language preference.
Step 3: Click Next to continue.
Step 4: Now, select “Repair your computer”.
Step 5: Then, tap on troubleshooting.
Step 6: Next, tap on Advanced Options and then Command Prompt.
Step 7: Now, from the cmd, type “bcdedit /set {current} recoveryenabled No” and
Press enter.
Step 8: Once the problematic files are deleted, type Exit and enter.
Repair Using Access Boot Menu through Command Prompt
If nothing is helping you fix the hp preparing automatic repair stuck screen, then try this method.
Note: Remember that following the method you might meet unexpected consequences. Modifying BIOS CMOS (complementary metal-oxide-semiconductor) settings wrong may cause several other complex issues. Thus, we will advise you to connect with a professional.
Step 1: Select the troubleshoot button.
Step 2: Then select Advanced and select Command prompt from the list.
Step 3: On the cmd screen type :
- exe/rebuildbcd
- exe/fixmbr
- exe/fixboot
Step 4: Also, alongside the bootrec.exe, run chkdsk. The following command will check the metadata of the drive for logical and physical errors.
- Chkdsk /r c:
- Chkdsk /r d:
Step 5: Once done, restart your computer and check if the problem still exists.
Winding Up!
We hope that the guide has helped you resolve the issue hp preparing automatic repair is stuck on windows. But, if the issue does not resolve following the methods, then you should connect with a professional. That’s the safest way to avoid further trouble. Also, you can use the Windows Data Recovery tool to retrieve the data you have lost during the process of fixing errors.