Choose Your 123 HP Setup Printer Models
Set up your HP printer model to scan and produce incredibly sharp text and photos. These printers are easy to use and offer reliable performance.

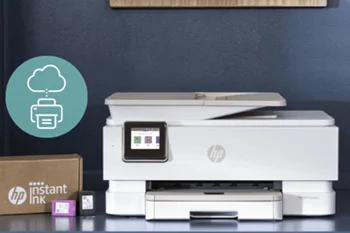
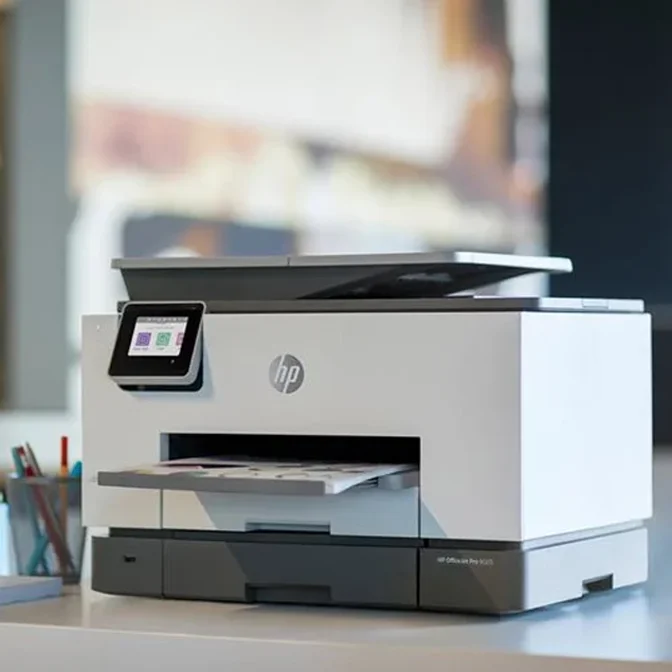
HP Officejet Pro Printer Models
Print, copy, fax, and scan with the remarkably well-built HP Officejet Pro printers. You can connect them easily and start printing without any effort on any device.

HP Officejet Printer Models
The HP Officejet series has printers that print 14 pages per minute. You can connect them wirelessly to every device and start printing documents with brilliant colors.

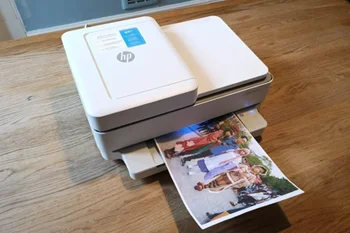
HP ENVY PRO Printer Models
HP ENVY PRO are all-in-one printers that enable printing, copying, and scanning in color. Print home and family, creative projects, and borderless images by setting up these high-performing devices.
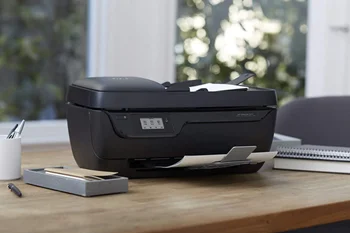
HP Deskjet Printer Models
Ideal for everyday printing, HP Deskjet are easy to use and set up. You can use them to print from any device be it computer, laptop or smartphone.
HP Laserjet Printer Models
Get crisp and brilliant print outputs with HP Laserjet printers. These models are easy to set up, support different types of printing, and are unmatched in performance and reliability.
HP Laserjet Pro Printer Models
HP Laserjet Pro printers are affordable, long-lasting, and ideal for home and office use. They are built to print, scan, copy, and fax speedily. Use them and automate your workflows.
The Steps to Complete Your HP Printer Installation
- Unpack your HP printer.
- Take the machine out of the box and remove all packing materials present on the external parts of the printer.
- Take out the sticker and the control panel of the device.
- Raise the scanner lid and take out packing materials and tape from the glass.
- Open the access door of your cartridge and take out packing materials and tape from the device’s interior.
- Close the access door and pull the handle on the paper tray to open it.
- Also, push in the photo tray.
- Now, slide out the width guides of the paper and remove the packing materials and tape from inside the tray.
- Connect the power cord to the printer’s rear.
- Now, plug its other end into a wall outlet.
- Power on the device.
- Install compatible cartridges and load paper into the tray.
- Now, move on to establishing your printer connection.
Connect Your HP Printer
You can now connect your HP printer through any of the options below. These include using the USB, connecting through Ethernet, or setting up a wireless network.
Connect your HP Printer with USB Cable
You can find the set up instructions for connecting HP printer to the USB at 123.hp.com/setup.
- Those already using a USB cable connection should remove the existing cable.
- Then remove your printer from your computer.
- If you are connecting your printer with the USB for the first time, circle for an open USB port on your computer.
- You may now go to HP Smart-Microsoft Store and install the HP Smart app.
- The setup connection will begin automatically. If it doesn’t begin, tap the add icon.
- Follow the instructions on your screen to complete the setup process using the USB cable.
Connect an HP Printer using an Ethernet or Wired Ethernet Network
Using Ethernet to connect an HP printer of any model is simple. These instructions will help you.
- Load the paper in the main tray of the printer.
- Now, turn on your printing device.
- You can connect your printer to the network router or a hub that has an Ethernet cable.
- Ensure that you take away the protective cover from the Ethernet port on the rear of the printer.
- Now, link the Ethernet cable to your HP printer.
- Also, connect it to the port on your network router.
- This will set up the connection between your printer and the network router.
- You can find more information about it at www.123.com/setup.
Connect your HP Printer Wirelessly
In order to link your printer to a local Wi-Fi Network, you must prepare it and then use the HP Smart App.
- Users of HP printers with touchscreen display should touch the ‘Setup’ or ‘Wireless’ icon. It is on the control panel.
- After that, select ‘Network Setup.’ This option can also be ‘Settings.’
- Now, choose ‘Restore network settings.’
- Touch‘Yes’ on the confirmation prompt.
- Wait for a minute till you see the wireless light blinking.
- After two hours, add your printer and complete the connection.
- Users of HP InkJet and Ink Tank printers without a touchscreen should press the ‘Cancel’ button first.
- Find the ‘Wireless’ and ‘Cancel’ buttons and press and hold them.
- The power button will blink.
- After 60 seconds, the wireless light will blink.
- Add your printer and complete this setup process after two hours.
Download and Install the Drivers Using 123.hp.Setup
The driver download process won’t take much of your time. The process is the same whether you are downloading and installing the software for the first time or are reinstalling it on your existing printer.
- Access HP Customer Support – Software and Driver Downloads page.
- Here, input the name of your printer. The printer name is present on the external shell of the printer.
- You will soon see a list of software.
- Choose a compatible software from this list.
- The software you see will always be present at the top of the list.
- Now, just follow the stepwise instructions to install the program.

HP Printer Setup Troubleshooting Services
You may come across some issues after using 123.hp.com/setup to install and set up your printer. Here you can find all the essential troubleshooting advice for HP printer setup problems.
Fix the printer not connecting to Wi-Fi
If you find your printer not connecting to Wi-Fi, use these points.
- Ensure that your PC runs on Windows Vista and above. Mac users should have Mac OS X 10.5 or a version newer than that installed.
- See that a wireless card is installed on your computer.
- Ensure the computer is linked to your network, which should be over 2.4 GHz.
- circle if your computer is configured with a static IP address. If yes, disable it.
- Find out if your printer is in an HP Auto Wireless Connect mode.
Troubleshoot Printing Problems
If you face issues in printing or find your print jobs stuck in the queue after setting up your printer using the 123.hp/setup page, use these techniques.
- Windows users should download and use the HP Print and Scan Doctor.
- Mac users should use Diagnose & Fix through the HP Smart app.
- Set your current printer as the default device.
- Reconnect to the wireless network. You may restart the router.
- If you are employing the mobile printing functionality, ensure that the mobile printing apps are compatible.
Resolve Software or Driver Problems
Driver issues prevent users from using their newly set HP printer models. Here are some troubleshooting techniques to use.
- Ensure that you have downloaded drivers from the official HP website.
- The driver software must be compatible with your system’s OS.
- Reinstall the printer drivers and circle if your printer works.
Troubleshoot Network Issues
Network issues hinder the printing process. You can resolve them using these helpful tips.
- Use an alternate connection for your device by disconnecting it from the current connection.
- Use the HP Print and Scan Doctor tool to fix the network problems hindering the printing process.
- Connect the hardware to the right ports. Use quality cables to link your printer.
- Scan your device and remove any external software.
Find complete setup solutions for your operating system


123 HP Setup and connection to a Windows computer can be accomplished with the help of simple instructions. You can setup, install, and configure HP printers on Windows with the guidelines here. You can also resolve any problems in the setup process.
Steps to Print Documents in Windows Using 123hp.com/setup
123 HP setup and connection to a Windows computer can be accomplished with the help of simple instructions. You can setup, install, and configure HP printers on Windows with the guidelines here. You can also resolve any problems in the setup process.
- Start by opening the document you have to print.
- Launch the print window using Ctrl + P.
- Next, tap 'Printer Properties.'
- Below the ‘Properties’ menu, choose the settings to print.
- You can use either the ‘Portrait’ or ‘Landscape’ alignment.
- Similarly, set the type of printing and the margins.
- After modifying the print settings, press 'Print.'
These instructions will give you the hard copy that you wanted. Just follow these simple guidelines and start printing the supported documents. If you face any challenges, avail of our expert assistance.
Connect Your HP Printer to Windows
The latest Windows system already has printer drivers. However, if your OS does not have it, go to the 123 HP printer setup page.
- Access the Start option in your Windows system.
- On the search bar, input ‘Add the printer.’
- In the next window, you can pick a network connection.
- Choose the option saying ‘Add a network (wireless) or Bluetooth printer.’
- Now, tap an available port and choose ‘Next.’
- You can select ‘Add a local printer’ if you are using a USB connection.
- Tap on the name of your HP printer and click ‘Next.’
- From the new window, you can install the printer driver.
- Tap the ‘Update’ tab and choose HP from the printer manufacturer’s list.
Frequently Asked Questions

Install the HP Smart app. Add your printer using the ‘Add printer’ option. Hit the ‘Scan’ tile on the home screen followed by ‘Get Started.’ See the preview of the scan, make changes, and choose to scan the file.
You must circle the network connection, fix the paper jam, and circle the status of your printer to fix the offline problem. Also, circle that the driver you have installed is the latest one and is compatible with your printer model.
The WPS pin on most HP printer models is located at the top of these devices. This is true for HP LaserJet, HP ENVY, and HP Officejet printer models.
Open ‘Change device installation settings’ in Windows. Ensure that your printer and computer are nearer to each other. The printer should be linked to the network to which your computer is connected. Open ‘Add a printer or scanner’ followed by ‘the printer that I want isn't listed.’ Select 'Add a printer using TCP/IP address or hostname' followed by 'Next.' Select 'AutoDetect' and find your printer IP address. Type it and follow the prompts to set up your printer.
Turn off your HP printer and the computer, and disconnect the USB cable from both devices. Connect the cable to your printer after circleing its condition. Switch on your system and wait for the start-up process to end.